Wild Yeast Ciabatta using Yeast Water and Bassinage Method
 © 2022 | http://angiesrecipes.blogspot.com
 © 2022 | http://angiesrecipes.blogspot.com
 |
 |

 © 2022 | http://angiesrecipes.blogspot.com
Yeast is a living microorganism that feeds on carbohydrates / sugar and releases carbon dioxide and alcohol that helps to leaven bread and enable fermentation. Wild yeast is found everywhere in the nature and can be easily captured from plants and animals. Your skin is even home to different types of yeast.
Fresh fruits, vegetables, or herbs can be used to capture wild yeast, but the easiest way to capture wild yeast is to use dried fruit, making sure that the fruit ain't treated with sulfur dioxide.
Fill a glass bottle with lukewarm water, add in dried fruit (and honey / sugar to speed up the fermentation process ). Seal the bottle with a ballon or a latex glove (as the yeast feeds on the sugar, it produces carbon dioxide and tremendous pressure can develop in the bottle ) and leave it at room temperature in a place away from direct sunlight or heat. The yeast is ready when bubbles appear and the liquid is frothy on top, which will take about 4-5 days. Strain out the liquid and use the wild yeast water for baking in place of both the liquid and baker’s yeast in recipes. You can also use the wild yeast water to make sourdough starter.You can discard the fruit or use it for baking.
Bassinage is a French term for pouring or bathing in water. In bread, the bassinage method makes the initial dough stiffer by holding back some of the water. After the gluten has developed, the second water is added to the dough. This method increases the amount of water that the dough can retain and produces a more open crumb.
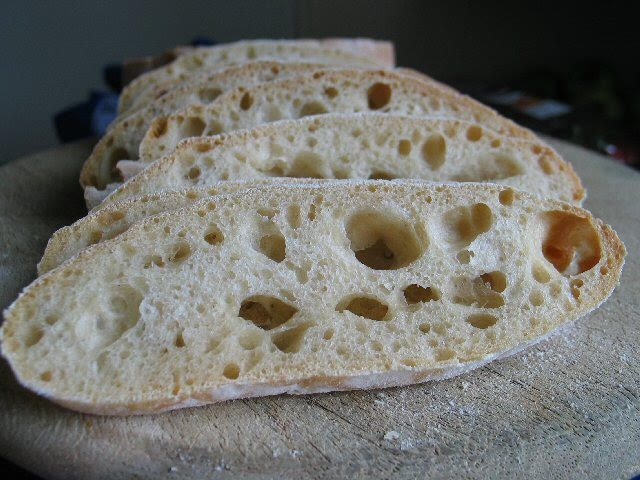
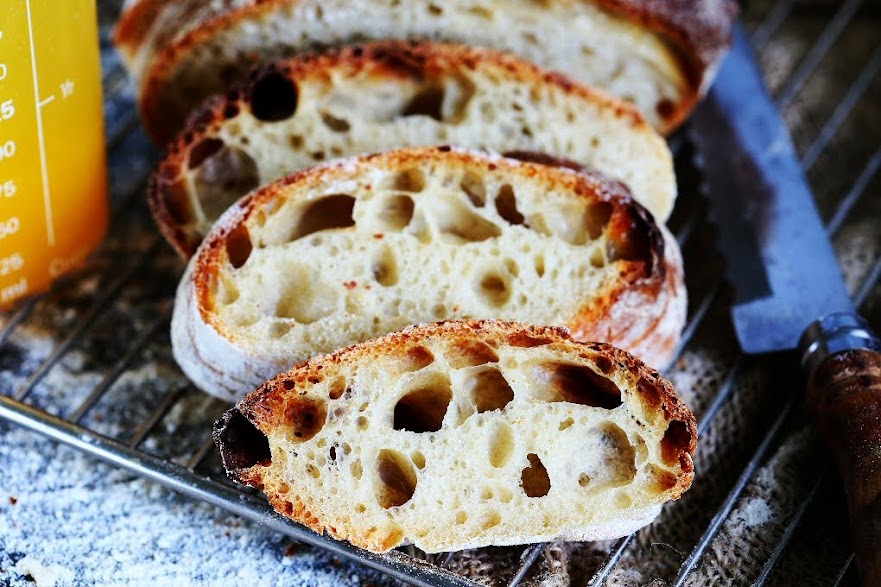
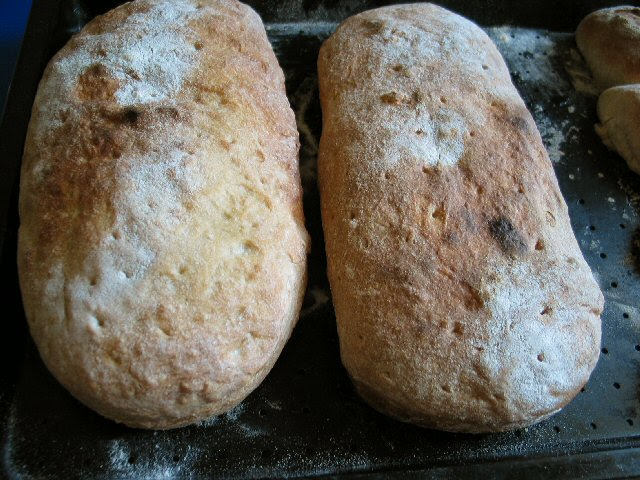
Ciabatta is a rustic Italian bread that is usually made from wheat bread flour, water, olive oil, salt, and yeast. The name means “slipper” in Italian and refers to its elongated, broad, and flat shape, but you can form ciabatta into small squares or rolls.
Ciabatta dough is wet and sticky with hydration levels often 80% or higher up to 95%. So it can be tricky to handle the dough and obtain those signature air bubbles within the dough. The taste will be same regardless of the crumb of your bread. Here are some very helpful tips on how to handle high hydration dough.
The soft, chewy texture and big, distinctively airy holes make ciabatta perfect for dunking into soups, sopping up sauce or absorbing seasoned oil. From breeding yeast water to the loaf of bread, it takes about 7 days. A slow and long process, but the result is definitely worth your time and patience.
Wild Yeast Ciabatta using Yeast Water and Bassinage Method
adapted from Marcel Paa| Cultivating Yeast Water | Refreshing Yeast Water | Dough |
|---|---|---|
|
|
|
| Cultivating Yeast Water | |||
|---|---|---|---|
 |
 |
 |
 |
| Refreshing Yeast Water | ||
|---|---|---|
 |
 |
 |
| For the Dough | ||||
|---|---|---|---|---|
 |
 |
 |
 |
 |
- To cultivate wild yeast water : Use hot water to rinse the bottle and pour in the 250 ml warm water. Then add the honey and finally the dried fruit. Depending on the type of dried fruit, cut it into small pieces so that it comes out of the bottle after swelling. Shake the bottle until the honey has dissolved and close the bottle with a balloon or a latex glove. Leave the bottle at room temperature for 4-5 days. During these days, shake the bottle a little every now and then so that new oxygen gets in.
- To refresh the yeast water : To do this, put the wild yeast water, warm water, honey and sultanas in a glass bottle and close it tightly. Shake the bottle to mix all the ingredients. Replace the bottle cap with a balloon. Leave it to ferment at room temperature for 12-24 hours.
- To prepare the dough : After 12-24 hours, the sultanas float on the yeast water and this means that it's strong enough to ferment the dough.
- Carefully remove the balloon from the bottle and pour the yeast water through a sieve into the mixing bowl of your mixer. Add in the remaining ingredients and knead for 2-3 minutes on slow speed.
- Increase the mixer speed and knead the dough for about 8-10 minutes at medium speed until it passes the "window test". Gradually fold the second part of water into the dough until the dough has completely absorbed the liquid.
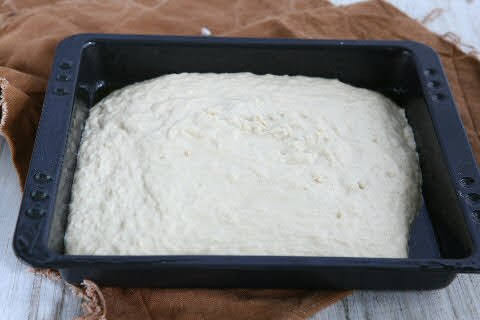
- In a lightly greased rectangular container, place the dough and cover with a plastic film. Leave it to rest for 12-16 hours at room temperature.
- During that time, stretch and fold the dough 2-3 times. To do this, dip your hands in a little water beforehand, then pull the dough up slightly on one side and place it on the opposite side of the container. Repeat this process from all four sides. Then cover the dough again and let it rest.
- After the proofing time, turn the dough out onto a generously floured work surface and divide into two equal portions. Pull the dough towards the conter from each side to form a "slipper". Place it on a generously floured tea towel on a baking tray with the seal facing upwards. Cover the dough with the towel and leave to rise for 40 minutes at room temperature.
- Preheat the oven to 230C/450F with a baking stone in the middle of oven and a baking tray at the bottom.
- Place the dough, with the seal side down, on a floured bread shovel and push them directly onto the baking stone in the oven. I simply turned the dough onto a well floured parchment paper and place it directly onto the baking stone. Pour a glass of water into the baking tray at the bottome of the oven and close the oven door immediately.
- Now reduce the oven temperature to 220C/430F and bake the loaves for 15 minutes. Now open the oven door to let the steam escape and then bake the loaves for another 25 minutes until crispy. Cool the loaves on a wire rack.

© 2022 | http://angiesrecipes.blogspot.com

© 2022 | http://angiesrecipes.blogspot.com
 © 2022 | http://angiesrecipes.blogspot.com

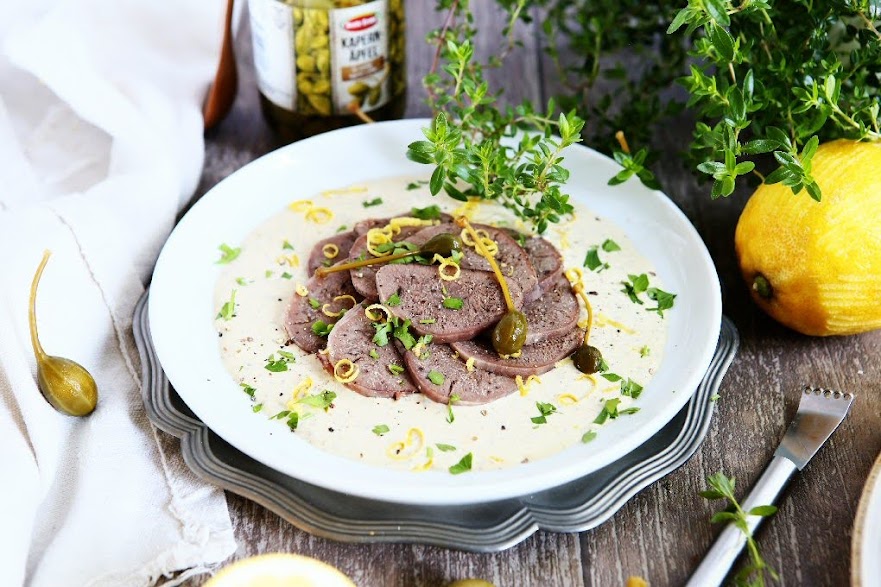
Vitello Tonnato
 © 2021 | http://angiesrecipes.blogspot.com
 |
 |
 © 2021 | http://angiesrecipes.blogspot.com
Vitello tonnato is a classic Italian entrée of cold, sliced veal served with a creamy, mayonnaise-like sauce that has been flavoured with tuna and garnished with capers. As unusual, or even weird, as this combination might sound at first, they go surprisingly well together and taste really good ... defintiely a new ultimate surf & turf for me. Traditionally it's made with veal top round, but I find that the rich veal tongue pairs perfectly with this creamy, tangy, salty and slightly spicy tuna sauce. The old fashioned way of preparing a tonnato doesn't include mayonnaise, but hard-boiled eggs. Tonnato is not only great with meat, also fantastic with grilled veggies, pasta or salad. So make an extra batch and enjoy it!
| Tonnato Tuna Dressing | |
|---|---|
|
|
- Rinse the veal tongue thoroughly. Place the tongue, chopped vegetables, spices, salt and pepper in the instant pot. Add in white wine and water to cover the tongue. Close and seal the lid. Select 'pressure cook' and set time for 40 minutes. Allow the pressure to release naturally. This will take about 15 minutes.
- Unlock and remove the lid. Using tongs, remove the tongue. Peel the tough skin off while still hot. Wrap tightly in plastic wrap and refrigerate until chilled, at least 45 minutes.
To make tuna dressing. Blend tuna, anchovies, capers, lemon juice, jalapeno pepper, mayonnaise and olive oil until smooth. Taste and season tonnato with salt. Transfer the tuna sauce into a jar and refrigerate until chilled, about 20 minutes. - Cut the tongue crosswise into 1/4-inch thick slices and arrange them on plates. Spoon some of the sauce over the tongue medallions and garnish with the lemon zest, chopped flat parsley and capers. You can also pour 1/4 cup of tuna sauce on a plate, then arrange the sliced veal tongue over, and garnish as desired.

© 2021 | http://angiesrecipes.blogspot.com
 |
 |

© 2021 | http://angiesrecipes.blogspot.com
Porchetta with Cinnamon Flower Buds and Herbs
 © 2021 | http://angiesrecipes.blogspot.com
 |
 |
 © 2021 | http://angiesrecipes.blogspot.com
Most porchetta recipes call for pork belly and loin, but I prefer this simplified version using just pork belly. The result is an extra aromatic and juicy roast with a super crisp crackling skin, which I can't get enough. The recipe feeds a family of 4 plus some leftovers, which make excellent sandwiches for lunch the next day.
Traditonally this pork roast is flavoured with fennel seeds, herbs, garlic, lemon, and wine, but I am using one of my favourite spices - cinnamon flower buds for this recipe. So, do feel free to substitute or alter herbs and spices according to your taste.
Cinnamon flower buds, also known as cassia buds, are the dried, unripe fruits of the cinnamon tree - cinnamomum cassia which is an evergreen tree of the plant family of laurel family and grows in China and elsewhere in South and Southeast Asia.They have a unique, fine and light cinnamon flavor, mixed with carnation, also musky, sweet and slightly peppery. If you don't have them, use cumin or fennel seeds instead.
|
 |
 |
 |
- Use a mortar and pestle to crush the cinnamon flower buds, and black peppercorns. Finely chop the herbs and 4 of the garlic cloves. Place crushed spices, finely chopped herbs, garlic, chilli pepper flakes, lemon zest and salt in a bowl. Add in olive oil to make a marinade paste.
- Pat the pork belly dry with paper towel. Place pork belly skin-side down on a large cutting board. With a paring knife, score the meat 2mm deep in a criss-cross pattern. Flip the meat over and score the skin in a criss-cross pattern, being careful not to pierce the meat on this side.
- Rub the marinade all over the pork belly, including the sides and the skin. Place the marinated pork belly skin-side up and fold the pork belly to enclose. Secure tightly with kitchen string at 3cm intervals. Place in a baking dish. Refrigerate, uncovered, overnight or at least 6 hours. This helps dry out the skin, resulting in crunchy crackling.
- Next day, remove pork from refrigerator 1 to 2 hours before you want to cook it. Preheat oven to 220C/450F fan-forced. Place sliced onion in a roasting tray and add pork belly on top.
- Add white wine to pan with water. Roast for 30 minutes. Rotate the roasting tray half way though. Reduce oven temperature to 150C/300F fan-forced. Roast for an additional 2 hours 30 minutes or until internal temperature of pork reaches 70C/160F . Check at intervals and if the liquid has evaporated, add a little more water.
- Set aside for 15 minutes to rest. Remove kitchen string from pork. Cut into slices to serve.
- Pour the pan juice together with onions into the blending cup of your immersion blender. Add in the reserved garlic clove. Blend everything until smooth and creamy. Taste an season. Serve with the porchetta.

© 2021 | http://angiesrecipes.blogspot.com

© 2021 | http://angiesrecipes.blogspot.com
 |
 |
 © 2021 | http://angiesrecipes.blogspot.com
Panettone with Poolish Sponge
 © 2019 | http://angiesrecipes.blogspot.com
 © 2019 | http://angiesrecipes.blogspot.com
 © 2019 | http://angiesrecipes.blogspot.com
 © 2019 | http://angiesrecipes.blogspot.com
 |
 |
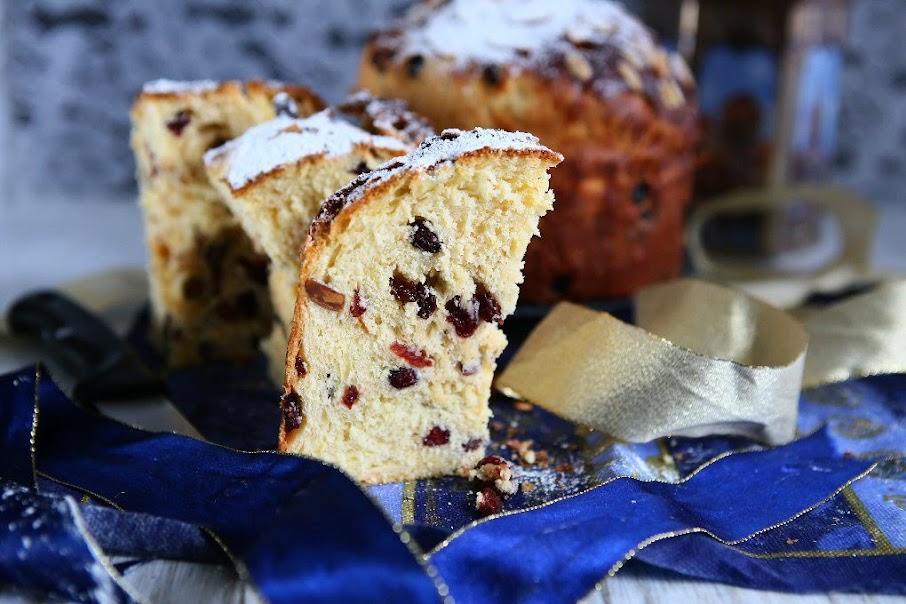
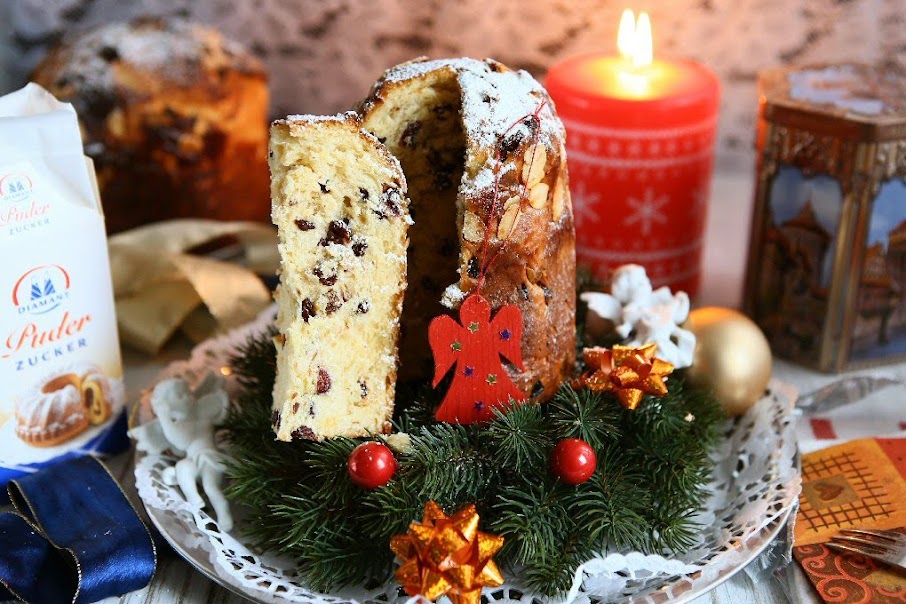
Panettone is a typical bread of Milan, usually prepared and enjoyed for Christmas and New Year around Italy, and one of the symbols of the city. This cake-like bread is typically baked into a tall, cylindrical shape (empty fruit cans work great as baking pans). Traditionally, panettone is made with raisins and candied orange and lemon peel. But you can choose the dried fruits you prefer. The bread is delicious eaten fresh and keeps well in an airtight container for about a week. It also freezes well for up to two months.
Poolish is a fairly wet sponge with baker's yeast, typically made with a 1:1 ratio of flour and water by weight, that means 100% hydration.
|
|

- To make the sponge, dissolve the yeast in 60 ml warm water in a bowl. Add 60 g flour and stir to make a very loose dough. Cover the bowl with a plastic wrap and let rise in a warm place for at least 6 hours, or overnight.
- In the bowl of your mixer, combine the butter, eggs, yolks, sugar, milk, and vanilla seeds. Add in the starter dough. Gradually add the flour, beat on low speed just until dough begins to leave the sides of the bowl and pull together. Increase speed to medium, and beat until the dough becomes smooth and elastic, about 5 minutes.
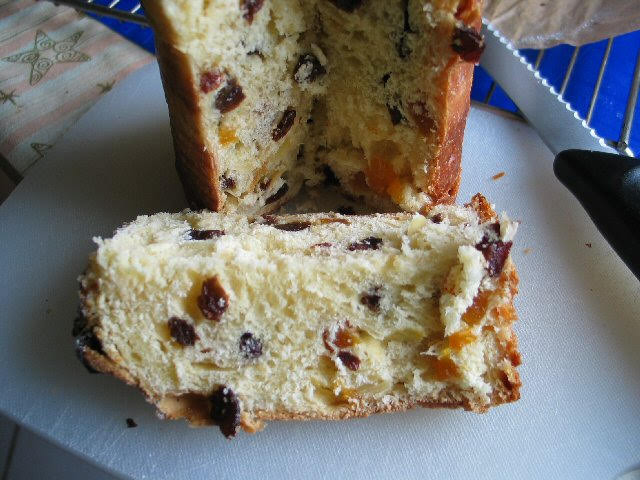
- Place the dough in a greased bowl and turn it once to coat both sides. Cover bowl of dough with plastic wrap, and let rise on the kitchen counter until doubled in size (mine took about 5 hours). Or leave it in the fridge overnight. With your hands, flatten the dough on a lightly floured surface into a rectangle. Evenly distribute the lemon zest, raisins, apricots, and almond over the dough. Fold the dough to seal the fruit and knead to distribute the fruit throughout the dough.
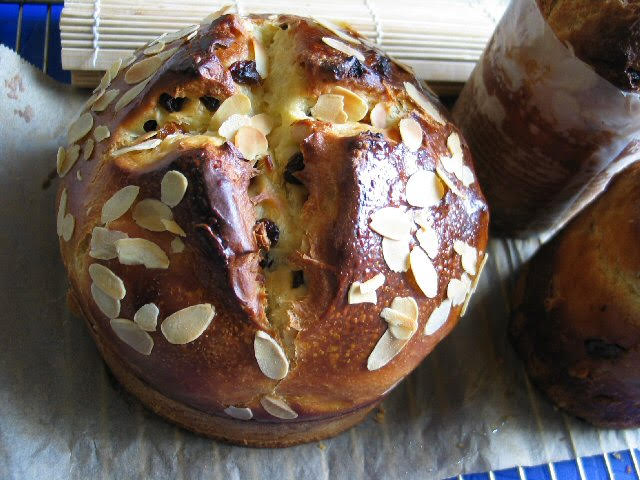
- Line a 8-inch mousse ring or baking pan (or panettone paper case) with parchment paper that has been well buttered on both sides and set it on a baking tray. Place the dough in the mould, cover with a towel, and let rise for 1-2 hours in a warm place. The key here is to have the rise above the rim of the pan or case.
- Preheat the oven to 200C/400F. Make a cross on the top of the bread with a sharp knife and insert a cube of butter. Sprinkle some extra almond flakes if you desired. Bake the bread on the middle rack of the oven for 10 minutes. Reduce the heat to 180C/350F. Continue to bake for 30-35 minutes until the surface is golden and crispy. The panettone is ready when a skewer comes out clean.
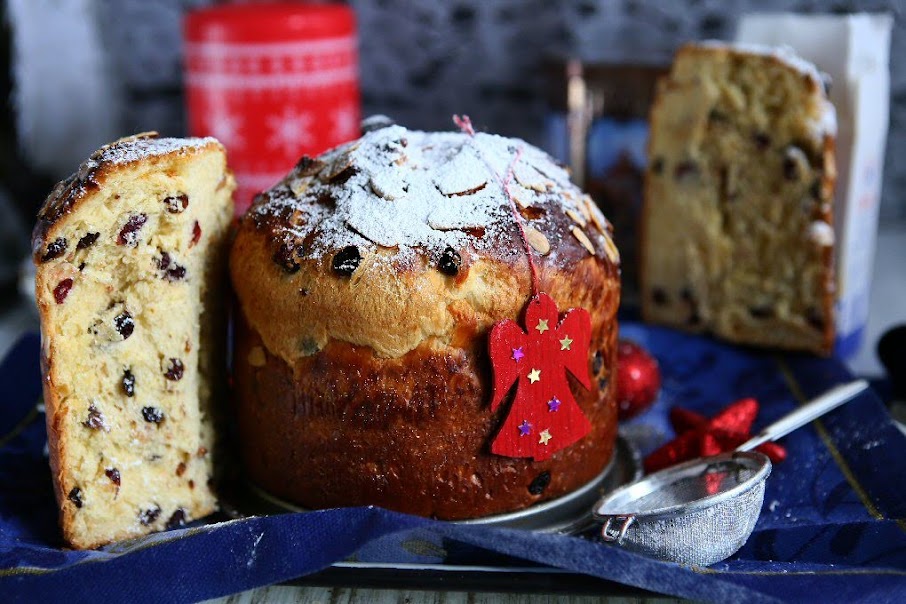
- Place the bread on a rack to cool for 10 minutes before removing it from the mold. Dust the bread with icing sugar if desired. Be sure the bread has cooled completely before wrapping for storage.


 © 2019 | http://angiesrecipes.blogspot.com
 |
 |
May your holidays be filled with lots of LOVE, HAPPINESS and PEACE!
 © 2019 | http://angiesrecipes.blogspot.com
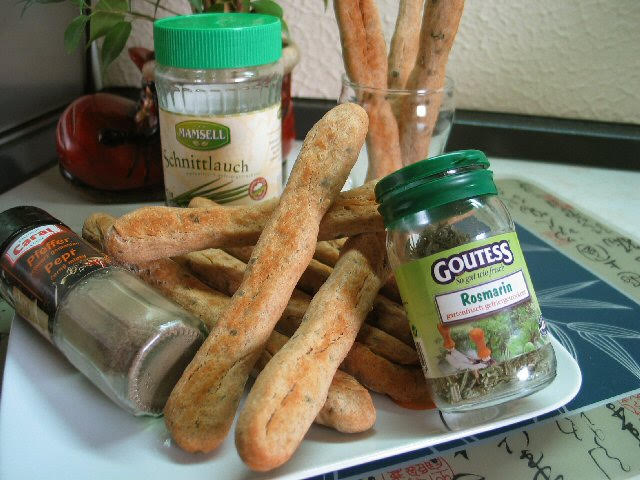
Grissini-Rosemary Pepper Breadsticks

Those pencil-sized breadsticks, known as "Grissini" in Italy, are dried, crispy and easy to make!
|
|
- Combine milk, chives, rosemary, salt, pepper and baking powder in large bowl. Mix well. Stir in flours, mix until blended. Turn onto floured surface and knead dough about 5 minutes or until smooth and elastic, adding more flour if dough is sticky. Cover and let stand 30 minutes at room temperature.
- Preheat oven to 190C/375F. Grease baking sheet. Divide dough into 12 balls, about 31 grams each. Roll each ball into long thin rope. place on prepared baking sheet. Lightly brush bread-sticks with salad oil. Bake about 12 minutes or until bottoms are golden brown. Turn bread-sticks over and bake about 10 minutes more or until golden brown.

Amaretti Cookies


This is the classic Italian almond macaroon. Crunchy and chewy Amaretti cookies are made from either ground almonds or almond paste, along with sugar and egg whites and optionally flavored with Italian almond liqueur Amaretto.
- 300 g Almonds, ground
- 30 ml Amaretto liqueur
angiesrecipes
- 300 g Sugar
- 100 g / 3 Egg whites, large
- Confectioners’ sugar fur dusting
- Preheat oven to 150C/300F. Place parchment paper on baking trays lightly brushed with oil. Combine ground almond and sugar together in a bowl. Beat the egg whites until firm and gradually fold into the almond mixture until combined. Add the amaretto liquor and fold in gently until you have a smooth paste.
- Fill the pastry bag with the almond mixture. Pipe even mounds onto the parchment paper, spacing mounds 2 cm apart as they will expand during the baking process. Bake for 25 minutes in the preheated oven until golden. Remove from the oven and dust with confectioners’ sugar while still warm. Allow them to cool a bit and then remove from the tray.


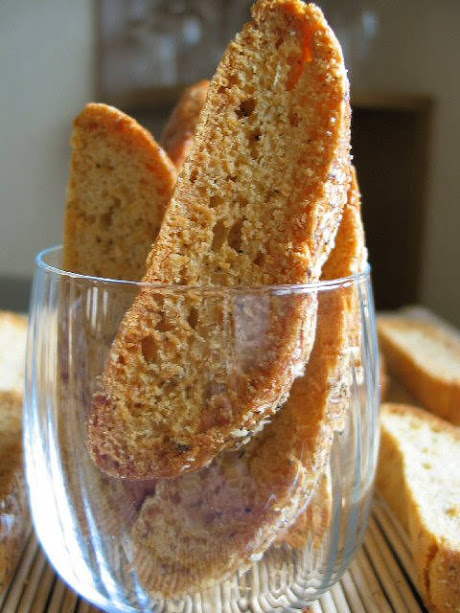
Parmigiano-Reggiano Black Pepper Biscotti

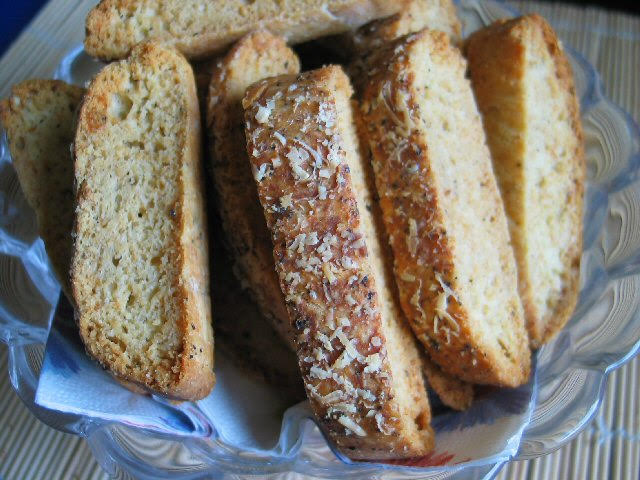

A savory twice baked cookie made with Parmesan and flavoured with freshly milled black pepper, great for dipping into the soup, for snacking or as a perfect accompaniment to a salad.
Parmigiano-Reggiano is a hard, fat raw cow's milk or cured goat milk cheese, cooked but not pressed, named after the producing areas of Parma, Reggio Emilia, Modena, Bologna, in Emilia-Romagna, and Mantova, in Lombardy, Italy.
|
|
 angiesrecipes
 angiesrecipes
- Preheat the oven to 180C/350F. Combine together flour, salt, baking powder, 100 grams of grated parmigiano reggiano and 3/4 of black pepper in a mixing bowl.
- Cut in butter and mix with a fork until it resembles coarse crumbs. Beat the egg and milk until combined. Reserve 2 tablespoons of the mixture. Pour the rest of liquid into the flour mixture and mix with a fork until a dough forms.
- Place the dough on a lightly floured work surface and divide it into two portions. Shape each into a log about 10 x 2 inches, Place them on a parchment paper lined baking tray spacing about an inch apart. Brush the tops of the biscotti logs with the reserved egg wash and sprinkle with the remaining cheese and black pepper.
- Bake at 180C/350F, turning once, for 30 minutes until pale golden. Remove and cool the tray on a rack for 5 minutes. Turn the oven temperatures down to 150C/300F. Cut the biscotti into half inch thick slices and return them to the baking tray. Bake for 35 minutes longer until they are dry and crisp.


Ciabatta with Sourdough Rye Starter

 |
 |
In Italian, ciabatta means “slipper,” the name is a reference to the shape, which does sort of resemble a slipper. Like many artisan breads, ciabatta bread tastes best when it is fresh. To refresh ciabatta bread which is slightly stale or soggy, it can be sprinkled with water and toasted in an oven immediately before serving. Otherwise, stale ciabbata bread can be allowed to go truly stale and turned into croutons.
|
|


- In bowl of a standing electric mixer fitted with dough hook blend together the starter, water, milk, oil, flour and instant yeast at low speed until flour is just moistened. Cover and let rest for 10 minutes. Add in salt and stir slowly to combine and beat dough at medium speed for 5 minutes. The dough shall be very sticky but still hold its shape.
- Scrape dough into an oiled bowl and cover with plastic wrap. Let dough rise at room temperature until doubled in size, about 90 minutes. Have a baking tray ready lined with well-floured baking paper. Turn dough out onto a well-floured work surface and divide in half. Transfer each half to the prepared baking tray and form into an irregular oval, about 8 inches long. Dust the tops with flour.
- Cover loaves with a dampened kitchen towel. Let loaves rise at room temperature until almost doubled in bulk, about 90 minutes. An hour before baking ciabatta, start preheating the oven (and a baking stone if available) to 220C/425F. Bake ciabatta loaves 20 minutes, or until pale golden. Cool the loaves on a rack.